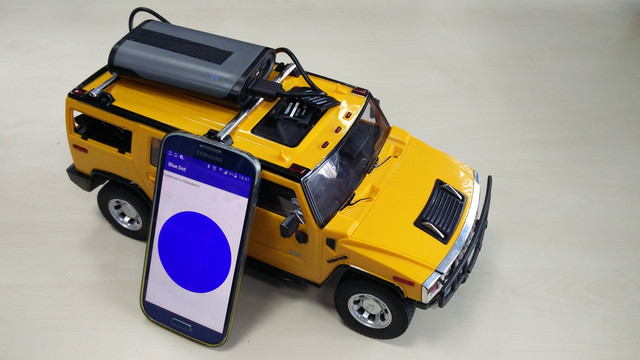
We want to be able to interact with the car and its programs and we are going to add the simplest sensor, a button.

To access the full video please subscribe to FLLCasts.com
- #833
- 09 Apr 2018
TL;DR
Connect two close pins of a button to pin 17 3.3V and to GPIO 26.
A button

There is a joke that if you don't know how a button works, you must be from the past.
What is interesting about that button is that it has 4 pins, and they are connected internally in pairs. Those four pins help with the mounting.
A button closes a circuit and electrical current flows from the first pin to the second.
Connect the button to the Raspberry Pi
One pin of a button must be connected to a GPIO pin, that is kind of expected. The other pin can be connected eighter to ground (GND), as a diode, or to 3.3V. Here we should start explaining about pull-up and pull-down resistors, but we are not going to. We will keep things simple and straightforward.
In order to simplify our Python code a few minutes later, we are going to connect the other end of the diode to pin 17 - 3.3V. The other pin goes to GPIO 26.
Do you remember where to find an image with all the pins? Which section had the image in it? It is a vital skill to remember where to look things up.
Use the navigation to the right, the section was something about connecting the driver to the Raspberry Pi. Open it in a new tab.
Signature,
/ your friendly evil online teacher /
The end result
Here is a picture how a connected button looks like:

We have purposely folded the button pins to the side.
Courses and lessons with this Tutorial
This Tutorial is used in the following courses and lessons

Perfect STEM course. Module 1 - Smart Car with Raspberry PI
Disassemble a remote control car. Change the brain of the car with a smart computer like Raspberry Pi. Build a smart device with artificial intelligence that you could control from your phone and that could freely navigate itself in the real world and on the Internet. Use your hands. Develop programs for your robot and your phone. Be curious and invent.
The perfect course lives up to its name. You move through the content, we check it and return feedback to you.
In the end, you should be able to program and design smart devices that would make the world a better place. For everybody age 12+, 16+, 21+, 35+, etc. The hardware costs about 150$ and you could also use it in many of the other courses that we are planning to release.
- 118
- 42:47
- 136

Execute Python programs about button, from the computer
What is going to happen further along the course and why.
- 3
- 0
- 1
- 3d_rotation 0