

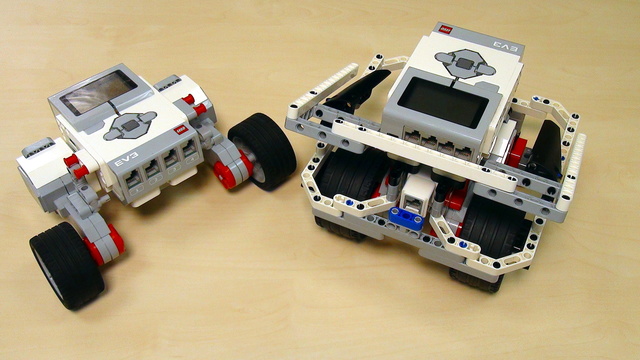
Task - import/implement our blocks and stop at black line
Implement a program for stopping at a black line with the blocks containing the implementation details for the InitArray, Calibration and Getting the calibrated result.
- #641
- 04 Oct 2017
Implement a program for stopping at a black line with the blocks containing the implementation details for the InitArray, Calibration and Getting the calibrated result.

Following the Advance Light/Color sensors calibration for a minimum value for a single sensor tutorial, in this one, we continue with finding the maximum value detected by a sensor and storing this value in an array.

A common question is how to display arrays on the LEGO Mindstorms EV3 brick screen. Displaying values from an array is not different from any other display operation. In this tutorial, we would look at displaying two specific values. The minimum and the maximum for a specific sensor from the Advance Calibration Course Section

In this tutorial, we show you how to display all the values from an EV3-G array on the EV3 brick display. We are using an array Read Operation along with a loop. We are also detecting the loop counter and using it as an index to an array. It's basically the only viable way to do it. The process is commonly referred to as - "Iteration over an array" (although we still do not have an iterator in the programming language, we promise that one day we would do the super advance videos on "iteration" using the LEGO MINDSTORMS robots")

One of the smartest things you could do in any software program is to extract logic in small reusable, simple, understandable units. In EV3-G these are called Blocks and we are going to extract the logic for finding a minimum and maximum for each of the sensors in a new block.

Following the Advanced Sensor Calibration course section, it is time to extract the logic for getting a calibrated value into a new block. This block will have an input and on this input, we give the port number. The block will return the calibrated value for this port number. We've built all the other blocks only because of this almost final video here.
This course is designed for students, mentors and teachers that are completely new to LEGO Mindstorms EV3 robots and would like to start using them to learn, in classes or at competitions. It is quite different from previously built resources at FLLCasts because it makes no assumption on any previous knowledge and tries to introduce everything step-by-step.

Това е възможно най-обикновеният робот, който следва линии. При него има само един сензор в предната част между двете задвижващи колела и използва греди за шарнири вместо трето колело. Опитайте да го направите. Следвайте инструкциите и след няколко минути вече ще можете да следвате линии.

Куботърсачът използва сензор за разстояние за засичане на топки или кубчета. След това роботът ги хваща, като може да разпознае техния цвят, блгаодарение на сензора за цвят в EV3. Инструкциите са подходящи както за изпълнение в клас, така и за самостоятелна работа вкъщи.

Building instructions for LEGO EV3 catching robot. It uses a medium motor to drive system of gears, which is used for catching objects. It, also, has an ultrasonic and colour sensors for detecting the objects.

Инструкции за конструиране на прост ЛЕГО модел, съдържащ червени, зелени, сини и жълти тройни греди. Това го прави идеален за управление на роботи чрез цветен код.

Инструкции за построяване на Катапулт от ЛЕГО Mindstorms EV3. Роботът има мотор, съединител, с който ръчно се контролира кога катапултът да стреля, и сензор за допир, който позволява автоматично зареждане. Долната рамка е махната, което означава, че роботът няма да може да се върти. В същото време обаче без нея катапултът става достатъчно малък, за да може да се построи по време на занятие.

Program for displaying the value of the sensor on the screen
Program for calibrating including the DisplayLightSensor block

- source code of the block written in NXT-G. Download, directly import it and use it in your programs. Never ever miss a line.


