We already know how to use the rotation sensor. Now it’s time to explore more of its functions.

To access the full video please subscribe to FLLCasts.com
- #1131
- 24 Feb 2019
The rotation sensor, just like any other sensor, has its own setting in the switch block.
As you can see, the switch block has only one mode – compare. If you drag your mouse over the compare mode, you will see there are three sub-modes there:

- Degrees
 The robot compares the number of degrees the motor has rotated to a value, which is 90 by default. The block checks whether this comparison evaluates to true and depending on the result it performs the corresponding commands.
- Rotations
 The robot compares the number of rotations the motor has made to a value, which is 1 by default. The block checks whether this comparison evaluates to true and depending on the result it performs the corresponding commands.
-
Current Power
 The robot compares the current power at which the motor rotates to a value, which is 50 by default. The block checks whether this comparison evaluates to true and depending on the result it performs the corresponding commands.
Unlike the other sensors, the rotation sensor is not connected to ports 1 to 4. As the sensor is located inside motors, the ports where it should connect are from A to D, port A by default. Always check whether the sensor is connected to the correct port.

Courses and lessons with this Tutorial
This Tutorial is used in the following courses and lessons

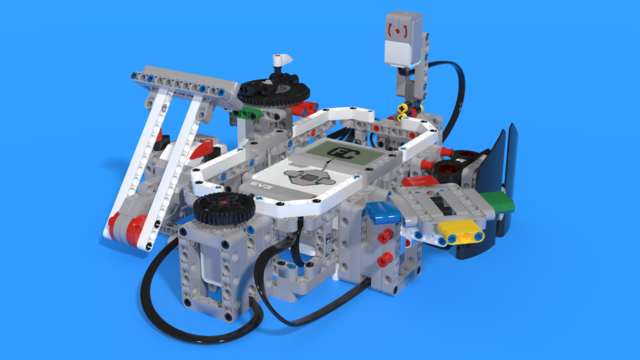
Level D1. "Animals". Robotics with LEGO
This is the seventh level of the Robotics with LEGO curriculum for students in third or fourth grade.
In this level students focus on the rotational sensor that is part of every motor in the robotics set.
Robot constructions imitate animals and their behavior. Students create programs that check whether the robot's claws or pecks have successfully caught an object. That sensor in the motors allows the robots to go back in their lairs even after the use of unlimited movement.
- 23
- 0:00
- 102

Lesson 3 - Scorpion
Introduction
In this lesson we are going to build a robot which resembles a scorpion. Have you ever seen scorpions? Where?
We know that scorpions usually live in deserts. They feed on absolutely everything that crosses their path, waiting in ambush. An ambush means to suddenly attack someone or something after hiding and waiting for them. This technique was used billion years ago by The Tyrannosaurus Rex and today it is preferred by many species, including people.
But how does the scorpion hide in the desert?
Scorpions use their legs to make shallow holes in the sand where they bury themselves. Thus scorpions blend into the environment.
Can you notice the scorpion in the picture?

It is well hidden and is waiting for a bug to pass by so it can have a snack!
- 3
- 5
- 13
- 3d_rotation 1
Robotics with LEGO - Level 4.0 - Kinesthetic and Memory Game (in development)
The seventh level of the Robotics with LEGO curriculum for students in sixth or seventh grade.
In this level, student develop a memory training game. The player must remember series of actions like press a button, shake a pole, pull a lever, show one of many colors. In order to program the game, students use many variables and modify their states. Students create their own custom sounds and images, in order to reflect their own personality in the game. In the end of the level, the game stores top scores even after a full shut down with the help of text files.
- 59
- 2:58
- 200

Remember how to work with the rotation sensor
You should already know we can command motors for time, rotations and degrees. It is very clear what happens when we command the motor to move for 3 seconds forward – the brick transmits electric current to the motor which starts spinning and after 3 seconds the brick switches off the current and the motor stops.
However, what happens when we command the motor to move 3 rotations forward? Are there a group of little elves in the motor who count the rotations or is there another explanation?
- 3
- 0
- 0
- 3d_rotation 0
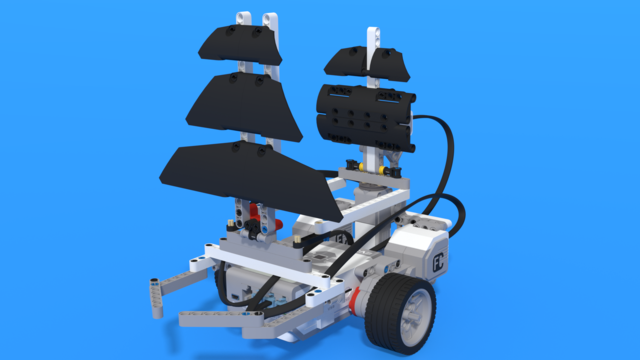
Robotics with LEGO - Level 2.5 - Maritime Journey
The fourth level of the Robotics with LEGO curriculum for students from fifth to twelfth grades.
In this level students focus on the rotational sensor that is part of every motor in the robotics set. Students also learn to use the fourth sensor in the robotics set - the gyro sensor.
First few robot constructions imitate sea-animals and their behavior. Students create programs that check whether the robot's claws or pecks have successfully caught an object. That sensor in the motors allows the robots to go back in their lairs even after the use of unlimited movement. The rest of the robots are modeled after boats, yachts, and ships. With the help of the gyro sensor, students can set a course for their robots to a given angle and can detect deviations from the course. In open seas, there may be sea-monsters and the robots are being programmed to detect a sudden change in acceleration with the help of the said sensor.
- 42
- 3:52
- 133