We already know how the Gyro sensor works. Now it is time to see how we could use it.

To access the full video please subscribe to FLLCasts.com
- #1200
- 12 Apr 2019
- LEGO MINDSTORMS, LEGO MINDSTORMS EV3
- EV3-G, Classes with students, Programming, EV3, Sensors, Gyro Sensor
As all the sensors, the Gyro sensor also has a setting in the Wait block
The block has two settings:
- change
- compare
We would focus mainly on the compare setting. If you position your mouse you will see that it has two modes:
- Angle - the robot compares the measured degrees of turn with a specific input value. Before continuing to the next block in the program the Wait block waits until the comparison returns true.

- Rate - the robot compares the rate of change of the number of degrees the sensor measures. How many degrees per second is the sensor measuring. The block waits for the comparison to return true before continuing to the next block in the program.

The last setting we should pay attention to is the port on which the sensor is plugged in. By default it is plugged in on port 2, but it could be on any of the 1-4 ports.

An important part of programming the Gyro sensor is that when it is turned on it starts measuring from 0 degrees. After that all turns in clockwise direction are considered positive, while turns in counter-clockwise direction are considered negative.
Rate value differs from degrees value - it always measures 0 when the sensor is not moving.
Courses and lessons with this Tutorial
This Tutorial is used in the following courses and lessons
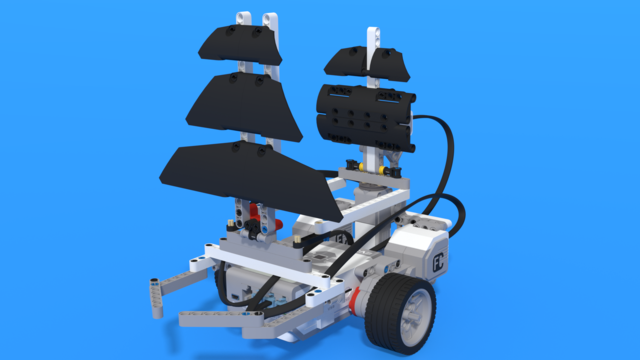
Level D2. "Seafaring". Robotics with LEGO
The eighth level of the Robotics with LEGO curriculum for students in third or fourth grade.
In this level, students learn to use the fourth sensor in the robotics set - the gyro sensor. The robots are modeled after boats, yachts, and ships. With the help of the gyro sensor, students can set a course for their robots to a given angle and can detect deviations from the course. In open seas, there may be sea-monsters and the robots are being programmed to detect a sudden change in acceleration with the help of the said sensor.
- 24
- 2:49
- 107

Lesson 1 - Pedalo for fishing
Introduction
Today we would build a pedalo for fishing. Have you event been on a pedalo? Have you see pedalos? Where?

Do you know that motor boats are not allowed in lakes and dams as they disrupt the animals. That's why today we are going fishing with a Pedalo.
Finishing boats and pedalos for fishing use an device called sonar, to detect large groups of fish. Our pedalo would use exactly such device to detect the group of fish and catch up with it.
- 4
- 4
- 10
- 3d_rotation 1
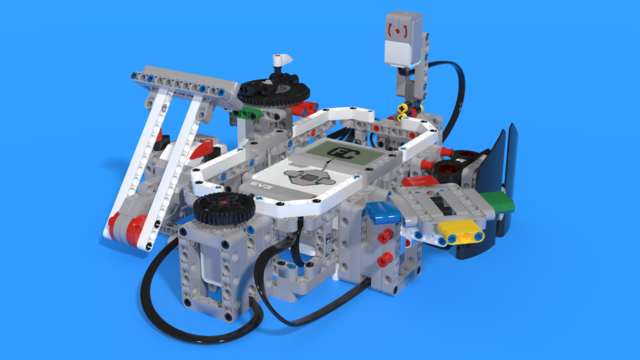
Robotics with LEGO - Level 2.5 - Maritime Journey
The fourth level of the Robotics with LEGO curriculum for students from fifth to twelfth grades.
In this level students focus on the rotational sensor that is part of every motor in the robotics set. Students also learn to use the fourth sensor in the robotics set - the gyro sensor.
First few robot constructions imitate sea-animals and their behavior. Students create programs that check whether the robot's claws or pecks have successfully caught an object. That sensor in the motors allows the robots to go back in their lairs even after the use of unlimited movement. The rest of the robots are modeled after boats, yachts, and ships. With the help of the gyro sensor, students can set a course for their robots to a given angle and can detect deviations from the course. In open seas, there may be sea-monsters and the robots are being programmed to detect a sudden change in acceleration with the help of the said sensor.
- 42
- 3:52
- 133

Robotics with LEGO - Level 4.0 - Kinesthetic and Memory Game (in development)
The seventh level of the Robotics with LEGO curriculum for students in sixth or seventh grade.
In this level, student develop a memory training game. The player must remember series of actions like press a button, shake a pole, pull a lever, show one of many colors. In order to program the game, students use many variables and modify their states. Students create their own custom sounds and images, in order to reflect their own personality in the game. In the end of the level, the game stores top scores even after a full shut down with the help of text files.
- 59
- 2:58
- 200

Remind yourself how to work with the gyro sensor
You've seen the gyro sensor. It has two arrow. How does it work? What does it do?
- 6
- 0
- 0
- 3d_rotation 0