
To access the full video please subscribe to FLLCasts.com
- #1193
- 10 Apr 2019
Parameters
Often we need to repeat a sequence of blocks with slight change. For an example the Proportional Line Following algorighm. We want to use it in different setups with different power set to the motors. Actually, if we want to use the same My block on different robots we will most probably need to change all of the ports within the block, which can lead to mistakes, especially if there are many places to change the ports.
In both cases a good way to resolve the issue is to use parameters within the My block. There are two types of parameters - input and output. Input parameters are used when you need to pass a value to the my block. For instance the speed of the motors can be an input parameter. That value then can be passed to the motor blocks as power.
Adding parameters to a My block
First select the plus sign to add a new parameter:
Next we have to setup the parameter. Select the second tab Parameter Setup:
Here we can set the name and type of the parameter. Next we have to set the data type i.e. what kind of value the parameter will contain (For more on data types within the EV3 Software take a look here). Finally, we set the default value i.e. what will be the value of the parameter if we do not enter anything.
After we have finished with the parameter setup, we proceed with choosing an icon for the parameter. This is done through the third tab - Parameter Icons:
When we choose an appropriate icon, select finish and the parameter will be added.
Example
Let us add a parameter for the font size to our dummy my block. The font size of the display block can be either 0, 1 or 2. So the parameter is input, the data type is number and the default value is 2:
Linking parameters within the My block
Once you have created parameters they will appear within the My block. Each parameter will look like a floating block with just the icon of the parameter - 
Use the wire from that floating block and connect it where necessary. In our example we should connect it to all of the display blocks within the My block:
Now if we go back to the program we have originally created, we will see that there is a new field appeared on the My block. There we can input the value we want to set for the font of the Dummy block.
Courses and lessons with this Tutorial
This Tutorial is used in the following courses and lessons

Instructors Remote Training
If you are working with students and you want to introduce Robotics to your class or you want to mentor a FLL team, but you are insecure about your technical knowledge in the Robotics field, then this is the right place for you. Having in mind teachers' busy schedule, we have design two different schedules and added an option to design one just for you. FLLCasts's Mindstorms EV3 Robotics Online Training is the perfect match for any teacher.
After the completion of each task the participant has to upload his solution for verification.
- 183
- 280:11
- 156

My Blocks
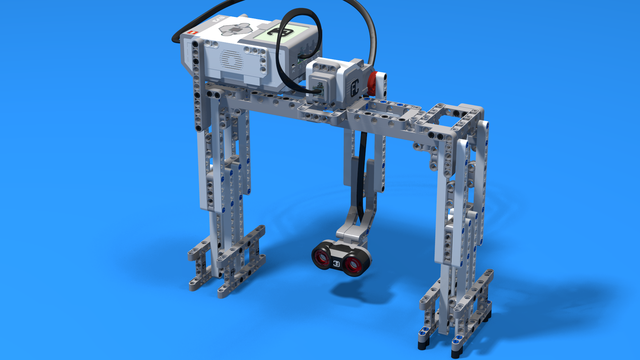
In this section we will learn how to create, edit, import and use My blocks. First we begin with ilustrating a use of My blocks. There is a whole group of robot constructions called steering robots. Today we will build a steering robot and learn more about the way it is driven through a differential. Then you will have to download a My block that implements the Proportional Line Following algorithm for steering robtos. You need to download, import and modify the block to fit your robot setup. Finally, you will have to create a block of your own and learn how to add parameters.
- 8
- 1
- 10
- 3d_rotation 1
Robotics with LEGO - Level 3.5 - Measuring tools
The sixth level of the Robotics with LEGO curriculum for students in sixth or seventh grade.
In this level, we introduce student-created myBlocks. Any functionality that is used in several places in a program is grouped into myBlock thus shortening the program's length. Students create blocks that return the result of calculations as an output parameter. Input parameters can change the calculations in the myBlocks. The robot constructions measure physical properties like linear or rotational speed, the fuel level in a tank, or length, area and volume.
- 58
- 0:00
- 185
Robotics with LEGO - Level 4.0 - Kinesthetic and Memory Game (in development)
The seventh level of the Robotics with LEGO curriculum for students in sixth or seventh grade.
In this level, student develop a memory training game. The player must remember series of actions like press a button, shake a pole, pull a lever, show one of many colors. In order to program the game, students use many variables and modify their states. Students create their own custom sounds and images, in order to reflect their own personality in the game. In the end of the level, the game stores top scores even after a full shut down with the help of text files.
- 59
- 2:58
- 200
Robotics with LEGO - Level 4.5 Game Time
This is the eighth level of the Robotics with LEGO curriculum for students in fifth to twelfth grades.
With the help of robots designed for games between students, they learn how to work with variables. Robots keep the score of each player and do calculations with the information in the variables.
In order to group functionality all the time, students use the well-known myBlocks. The concept of behavior is introduced and the programs are organized in many threads that exchange information between each other.
At the end of the level, the robots generate problems with numbers and the students must create equations.
- 35
- 13:40
- 221

Level 3.7 - Smart Robots
В много от занятията отборите работят върху един робот, като всеки отбор е отговорен за правилното реализиране на поетата от тях функционалност. Задълбочено се разглеждат задаването на входни стойности и използването на изходните стойности на всички блокове. Широко се използват променливи от трите основни типа: Integer, Boolean, Text. Роботите вече пазят богато вътрешно състояние, могат да броят, да изчисляват, да се обосновават логически, с помощта на което взимат много по-правилни решения. Въвежда се използването на паралелно изпълняващи се блокове.
- 15
- 1:03
- 111
Занятие 1 - Ball Hunter, броене на топки
Цел
Целта на занятието е да се реализират програми за робота BallHunter по-сложни от тези реализирани в Роботика Фи. Продължава се с използването на променливи, групиране на действията в блокове. Въвежда се прочитането на стойности от блокове. Въвеждане на блокове, които връщат резултат.
Необходими материали
Сини и червени топки от няколко комплекта. Поне 5 топки общо.

- 8
- 13
- 21
- 3d_rotation 1