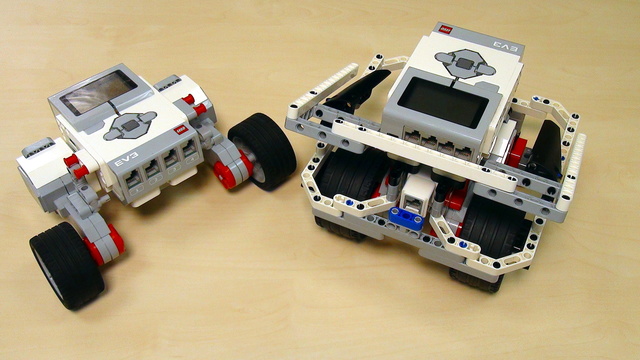
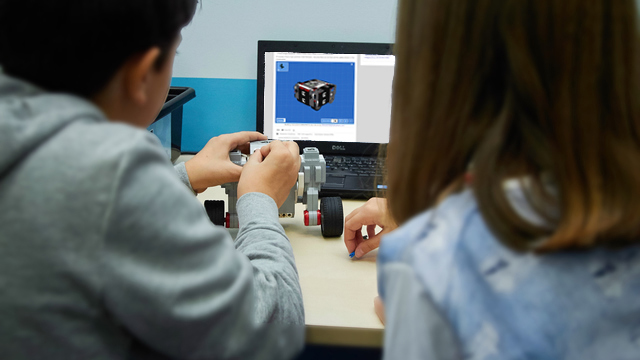
We create a program for detecting when the Touch Sensor was Pressed/Released. Move until it is pressed, continue when it is released.
- #139
- 08 Oct 2015
- 5:04
This is a simple tasks for introducing students with both states of the LEGO Mindstorms EV3 Touch Sensor.
Previous video tutorials:
Touch sensor Pressed/Released
EV3-G program for detecting pressed/released states of the LEGO Mindstorms EV3-G Touch sensors
English
In the previous video we attached the touch sensor to our robot and we did a small very simple program that moves the robot forward until the touch sensor is pressed. Today we continue using the touch sensor.
The next program that I would like to build is the following: the robot stays in place, the touch sensor is pressed and the moment I release the touch sensor I would like the robot to move forward for one rotation. So initially the button is pressed, but when I release the touch sensor the robot will move forward. Let's see how we can program this. The previous program was moving the motors, then waiting until the sensor is pressed and then stopping the motors. The current program should work in reverse, so we must first wait until the sensor is pressed, then we start the motors and we rotate the for let's say one second.
So the first block in our program is actually waiting for the sensor to be pressed and when the sensor is pressed we'll move forward. We start moving forward for one second. Let's download and see the program. I'm downloading the program.
Now the robot is not moving and the moment I press the touch sensor the robot will move forward for one second.
Again. Download the program. It waits for touching the sensor and then it moves forward. But that was not our original task. Our original task is to have the sensor pressed and when we release the sensor to move the robot forward. Let's program this. What we have to do is to configure the wait block for the touch sensor, to wait not for a touch, but for a release. To wait for releasing the touch sensor. And from the option right here, the state. Let me zoom a little more. If we change the state from pressed to released, then this block will wait for releasing the touch sensor.
Let's check this. Downloading the program and running the program. I download the program.
And because the sensor is released, it initially starts. Again I will download it. It just moves. But if I now press the sensor and I start the program, the program is currently running, you can see the green lights here and now when I release the touch sensor it will move forward.
That was for the second state of the touch sensor. Now let's take a look at the third state, before we end this video. The third option in the wait block for the touch sensor is bumped and bumped means pressed and then released. So if I now select the bumped option, I will have to press then release and only then the robot will move forward. Downloading and running the program. Position the robot. Now I'll download the program.
Download. Currently the program is running. If I press the sensor, the robot doesn't move. Now if I release the sensor, the robot moves. So it's the bumped state of the sensor, when I bump it, the robot starts. These were the three states of the touch sensor- pressed, released, bumped. Let's do more programs in the next video.
Courses and lessons with this Tutorial
This Tutorial is used in the following courses and lessons

EV3 Basic Course. Introduction to robot programming, construction and sensor use
This course is designed for students, mentors and teachers that are completely new to LEGO Mindstorms EV3 robots and would like to start using them to learn, in classes or at competitions. It is quite different from previously built resources at FLLCasts because it makes no assumption on any previous knowledge and tries to introduce everything step-by-step.
- 38
- 193:26
- 30

Touch Sensor
Complete introduction to the LEGO Mindstorms EV3 Touch sensors from the very first step. In this video tutorial we program the robot to stop on touch sensor pressed. Again, this is based on your feedback that much of our tutorials in previous years were a little more advanced and that we have never made a proper introduction. A few more videos on touch sensor will follow after this
- 4
- 0
- 4
- 3d_rotation 0

Instructors Remote Training
If you are working with students and you want to introduce Robotics to your class or you want to mentor a FLL team, but you are insecure about your technical knowledge in the Robotics field, then this is the right place for you. Having in mind teachers' busy schedule, we have design two different schedules and added an option to design one just for you. FLLCasts's Mindstorms EV3 Robotics Online Training is the perfect match for any teacher.
After the completion of each task the participant has to upload his solution for verification.
- 183
- 280:11
- 156

Touch Sensor Theory and Practice
Complete introduction to the LEGO Mindstorms EV3 Touch sensors from the very first step. In this video tutorial we program the robot to stop on touch sensor pressed. Again, this is based on your feedback that much of our tutorials in previous years were a little more advanced and that we have never made a proper introduction. A few more videos on touch sensor will follow after this
- 3
- 0
- 0
- 3d_rotation 0

Instructors Remote Training
If you are working with students and you want to introduce Robotics to your class or you want to mentor a FLL team, but you are insecure about your technical knowledge in the Robotics field, then this is the right place for you. Having in mind teachers' busy schedule, we have design two different schedules and added an option to design one just for you. FLLCasts's Mindstorms EV3 Robotics Online Training is the perfect match for any teacher.
After the completion of each task the participant has to upload his solution for verification.
- 183
- 280:11
- 156

Touch Sensor
Today we will tell you what is touch sensor is and how to program it.
- 6
- 0
- 6
- 3d_rotation 0
