

Improving FLL Robot Game. Places you could lift your robot onto.
Where should you lift the robot? Especially if you don`t have the mission model that we are using
- #437
- 06 Mar 2017
Where should you lift the robot? Especially if you don`t have the mission model that we are using

In this second part we continue with the next few tasks from the FIRST LEGO League (FLL) 2013 competition. Using the same rubber band attachment we lift the house and collect a few of the humans and cargoes.

The final video from the course. The robot escapes the state where it is lost. This happens if it can not continue in any direction.

Note for the teacher on how to organize the class to use different robot base constructions to accomplish the mission for lifting.

Based on your feedback we have decided to show you the live process of building a complex LEGO Mindstorms EV3 Competition robot without having the whole robot ready yet. We are continuing from part 2 where we finished the 'front' of the robot and now we will extend it so that we could also attach the rear part.

Many times we just upload blocks and leave it up to you to use it. In this tutorial, I would like to show you how to use the implemented blocks. How to import them into the EV3-G software. How to see them in the palette. How to drag and drop them to build a working program.

This third way of positioning the LEGO Mindstorms EV3 motors on the robot seems to be the most productive with the most advantages. We have named it "correct", but we completely understand there might be other even more efficient ways to position the motors on the robot.

The challenge for this video is to program a menu that is controlled from the LEGO Mindstorms EV3 brick screen.
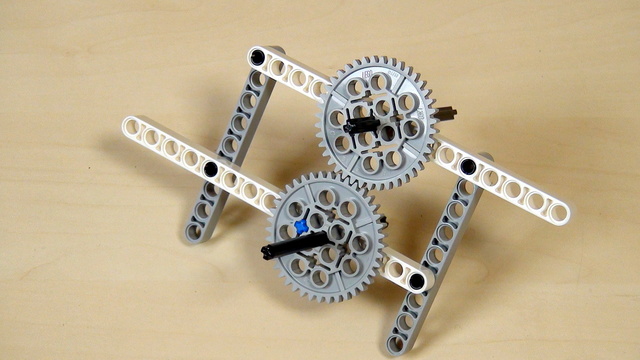
One of the very common problems with the LEGO Mindstorms and LEGO Technic Gear wheels is then a tooth is skipped. In this video, I would like us to discuss this challenge and how do we solve it.

We will cover the names and the basic usage of the parts in our typical robot.

How to organize the different robots and group of students when working on lifting the robot.

After we take each sample, we perform calculations and these calculations could take different time. It is important to know how much time does it take to perform the calculations. In this video tutorial, we would data log the time and plot the data.

We will demonstrate the common mistakes students make when building a robot.

This second way of positioning the LEGO Mindstorms EV3 motors on the robot leaves more space for the Mindstorms brick and for attaching a third motor. We are experimenting and showing the advantages and disadvantages of this particular construction.

We are showing the first way we could position the motors on the robot construction. This seems to be challenging for many robot builders and that's why we are going to do it in a few different ways in the next few video tutorials from the series.

When you build from instructions there are a few things that you should be careful about.

Let's implement a more advanced program for this robot to learn how to use with motors in opposite directions - and this is to implement the Proportional Line Following algorithm.

We would see how both satellites work together on the World Robotics Olympiad competition. They must both follow different orbits and must cooperate for the mission to be accomplished.

We will cover three ways to transfer your program from the computer to the robot.

Now that you have tried and solved a challenge involving a series of instructions, we would like to share with you a few best practices.

When organizing this course, the behavior expectations should be set at the very beginning of the course.

Remember the passive/active attachment separation that we are making at FLLCasts.com. This applies for all the attachments and in this Episode, we are looking at how to use a passive attachment.

Now we have to program the robot. The steps that we will cover are starting the software, writing a program and downloading it to the robot.

In this video tutorial we would look at the mission run for M06. SPACE STATION MODULES. The missions is to precisely push a mission model into an opening. In almost any FIRST LEGO League competition there are such missions. The tutorial contains only the mission run on the field. We accomplish a single mission.

The robot works on the field and decodes the different colours that represent the rows and the columns.

What a teacher must look out for, while students are building a robot from instructions.
