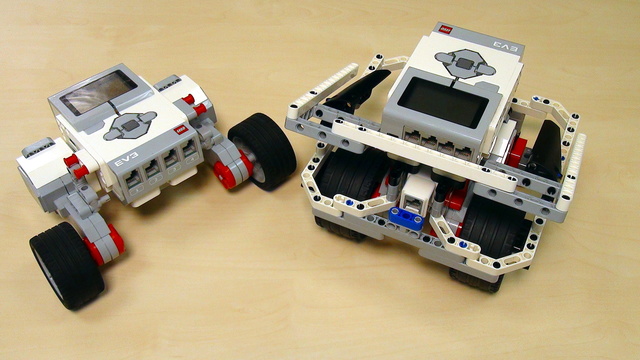
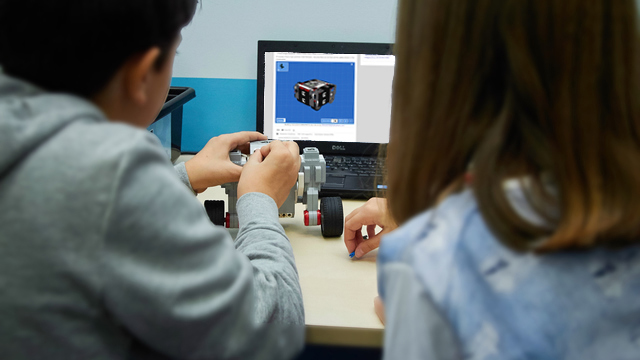
As with the two sensors we have covered so far, the color sensor can be used as a condition for the wait block, the switch block or the loop block. The color sensor, as well as the ultrasonic sensor, has several modes. Nevertheless, these modes are substantially different. While the ultrasonic sensor has two modes - one to work in centimeters and one in inches, the color sensor has three modes - one for detecting the color of an object, one for ambient light and one for reflected light.

To access the full video please subscribe to FLLCasts.com
- #1392
- 16 Jan 2020
- Reflected Light Intensity - If you choose that mode, the sensor will measure the amount of light reflected. We use that mode, when we want to differentiate lighter from darker objects, as in following a line. Here, the diode of the sensor emits red light and measures the amount of light reflected from the surface of the object. The value, returned by the sensor is between 0 and 100. The greater the number is, the lighter the object is.
- Ambient Light Intensity - If you choose that mode, the sensor will measure the ambient light. That mode is similar to the mode used in the sensors of lamps that turn on on their own when it gets dark. We can use it to build a robot following a light source. In that case the diode does not emit light. The value returned by the sensor is between 0 and 100. The value is small if the room is dark and bigger if the there is light in the room.
Let us take a look at the settings for each of the modes in greater detail.
Reflected Light Intensity Mode

Again, we can set the number of the port we have connected the sensor to from the number in the upper right corner of the block. The other two settings of the block are similar to the ones of the ultrasonic sensor. From the first parameter we choose whether to wait for:

-
0= the value the sensor reads to be equal to the threshold value; -
1= the value the sensor reads to be different from the threshold value; -
2= the value the sensor reads to be greater than the threshold value; -
3= the value the sensor reads to be greater or equal to the threshold value; -
4= the value the sensor reads to be less than the threshold value; -
5= the value the sensor reads to be less than or equal to the threshold value;

From the next parameter, we can set the threshold value with which we compare the current read value of the sensor.
So, if you want to program the robot to move forward until it detects a black line and the sensor reads 23 on black and 48 on the mat, then you need to set the block to wait until the value is less than 35.
Courses and lessons with this Tutorial
This Tutorial is used in the following courses and lessons

EV3 Basic Course. Introduction to robot programming, construction and sensor use
This course is designed for students, mentors and teachers that are completely new to LEGO Mindstorms EV3 robots and would like to start using them to learn, in classes or at competitions. It is quite different from previously built resources at FLLCasts because it makes no assumption on any previous knowledge and tries to introduce everything step-by-step.
- 38
- 193:26
- 30

Color Sensor
Very simple and basic introduction to the color sensor in the LEGO Mindstorms EV3 set. The first program is to stop at a line. Then we can move from stoping at line to counting lines and even more complex tasks.
- 8
- 0
- 3
- 3d_rotation 0

Instructors Remote Training
If you are working with students and you want to introduce Robotics to your class or you want to mentor a FLL team, but you are insecure about your technical knowledge in the Robotics field, then this is the right place for you. Having in mind teachers' busy schedule, we have design two different schedules and added an option to design one just for you. FLLCasts's Mindstorms EV3 Robotics Online Training is the perfect match for any teacher.
After the completion of each task the participant has to upload his solution for verification.
- 183
- 280:11
- 156

Color Sensor
What is color?
If I ask you what the color of the ball on the picture below is, you will surely answer red without hesitation. All of you know what is meant when we talk about the color of an object, but what is actually color? This is one of the most natural concepts whose meaning and origin people often fail to realize.
- 9
- 0
- 4
- 3d_rotation 0