Very simple and basic introduction to the color sensor in the LEGO Mindstorms EV3 set. The first program is to stop at a line. Then we can move from stoping at line to counting lines and even more complex tasks.
- #147
- 19 Oct 2015
- 5:55
The EV3 Color Sensor detecs the color of an object. It could be in a range of 7 colors from white to black. The sensor could also detect Reflected Light and Ambient Ligth which generally means "how much light is the sensor receiving".
Check out the video tutorial and lear how to use the sensor
English
In the next few videos of the series we'll do an introduction into the EV3 color sensor. How we can use it, how we can detect different lines and how we can use it on the competition.
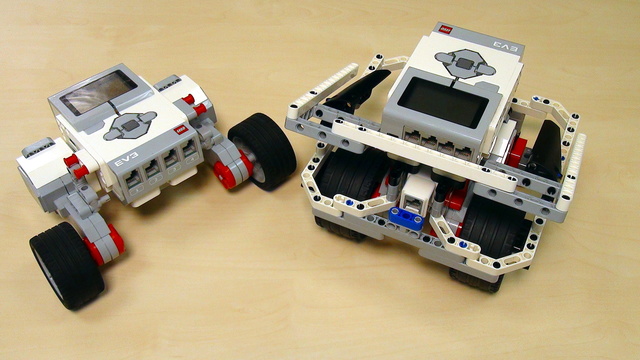
We'll be using this sensor, the color sensor to detect different lines on the table here and because of this the sensor must face down, vertically not horizontally. I'll remove the ultrasonic sensor from the previous tutorials
and I'll add the light sensor.
If we just use the same attachment to add the color sensor, I'll sometimes refer to this as a light sensor but it's more correctly to say it's a color sensor,
so if it is added like this it is facing forward but that's not what we want. We want the sensor to be facing down. So I'll use one more additional part in order to make the sensor face down.
Now there's some gap between the table and the light sensor. It's about one finger, so it's about cm or let's say half an inch. That's the distance between the sensor and the table. You cannot place the sensor very high because it won't detect the lines that are on the table and you can't place the sensor very near to the table because again there's not enough room for the sensor to work correctly.
The default port for this sensor is port 3. This here is the sensor. Now the programs that we would like to do are first we would like to stop at a black line.
I'll take this band and I'll add it right here on the table.
Let's now without entering into much details on how the sensor works try to make a program that makes the robot stop on this black line. First we need a block that moves the robot forward. We'll use again the Tank block and we are moving motors A and D so move forward motors A and D and we don't want to move for 1 rotation we just want to move forward until we detect a line. How do we detect a line? We add a Wait block as with the other sensors, with the touch sensor and with the MIndstorms ultrasonic sensor, we add a wait block in the EV3 software and we select wait. We are waiting for the color sensor to detect a color and this color would be black, only black. So move forward until the color sensor detects a color that is black. You can see here the different colors that we can select from and we want to detect black, because the line is black and then after we detect the line we want to stop with both motors.
Let's download and run the program. This here is the robot, this is the color sensor and now we start.
The robot moves until it reaches the black line and it stops and I can start the robot from different positions, for example, from here. It stop on the black line.
This is the basic way in which we use the color sensor. In the next program we'll try to stop at the third black line.
You can try it before watching the next video to build a program that stops on the third black line.
Courses and lessons with this Tutorial
This Tutorial is used in the following courses and lessons
EV3 Basic Course. Introduction to robot programming, construction and sensor use
This course is designed for students, mentors and teachers that are completely new to LEGO Mindstorms EV3 robots and would like to start using them to learn, in classes or at competitions. It is quite different from previously built resources at FLLCasts because it makes no assumption on any previous knowledge and tries to introduce everything step-by-step.
- 38
- 193:26
- 30

Color Sensor
Very simple and basic introduction to the color sensor in the LEGO Mindstorms EV3 set. The first program is to stop at a line. Then we can move from stoping at line to counting lines and even more complex tasks.
- 8
- 0
- 3
- 3d_rotation 0

Instructors Remote Training
If you are working with students and you want to introduce Robotics to your class or you want to mentor a FLL team, but you are insecure about your technical knowledge in the Robotics field, then this is the right place for you. Having in mind teachers' busy schedule, we have design two different schedules and added an option to design one just for you. FLLCasts's Mindstorms EV3 Robotics Online Training is the perfect match for any teacher.
After the completion of each task the participant has to upload his solution for verification.
- 183
- 280:11
- 156

Color Sensor Theory and Practice
Very simple and basic introduction to the color sensor in the LEGO Mindstorms EV3 set. The first program is to stop at a line. Then we can move from stoping at line to counting lines and even more complex tasks.
- 5
- 0
- 0
- 3d_rotation 0
Instructors Remote Training
If you are working with students and you want to introduce Robotics to your class or you want to mentor a FLL team, but you are insecure about your technical knowledge in the Robotics field, then this is the right place for you. Having in mind teachers' busy schedule, we have design two different schedules and added an option to design one just for you. FLLCasts's Mindstorms EV3 Robotics Online Training is the perfect match for any teacher.
After the completion of each task the participant has to upload his solution for verification.
- 183
- 280:11
- 156
Color Sensor
What is color?
If I ask you what the color of the ball on the picture below is, you will surely answer red without hesitation. All of you know what is meant when we talk about the color of an object, but what is actually color? This is one of the most natural concepts whose meaning and origin people often fail to realize.
- 9
- 0
- 4
- 3d_rotation 0