To access the full video please subscribe to FLLCasts.com
- #2010
- 01 Jul 2022
A few things should be done to prepare the classroom before the first lesson. One is to name each SPIKE hub and give them unique names to make it easier for students to connect the computers to the correct hubs.
Due to the tendency of the SPIKE program to remember the name of the hubs, it is best that the first naming of the hubs happens from the teacher's office computer (the SPIKE software version at the time of writing this tutorial is 2.0.7, hopefully in the future, this problem will drop).
There are two ways to connect to SPIKE Prime hubs: via cable and Bluetooth. We will use Bluetooth.
To connect to the hub, you must complete the following three steps:
- Turn on the hub by pressing the middle button for 1-2 seconds;
- Turn on Bluetooth by pressing the button with the Bluetooth icon;
- Find the hub and connect to it through the program as shown in the video above.
In order to distinguish which hub should be connected to which computer it is highly recommended to rename all hubs with an easy and memorable name such as Hub-01, Hub-02, etc. To do so, after connecting to the hub, one must press the pen icon in the program, which opens a rename menu, as shown in the video.
After you have renamed all the hubs, connect them to their respective computers once. That is needed because the first time a Bluetooth connection is established between the hub and the computer, the Bluetooth button on the hub must be pressed. That action will not be required again afterward, and there is no need to burden students with this task.
Courses and lessons with this Tutorial
This Tutorial is used in the following courses and lessons
Level A1 - Space Adventure - Robotics with LEGO SPIKE Prime
This is the first level of the LEGO Robotics Curriculum for second, third, and fourth-grade students.
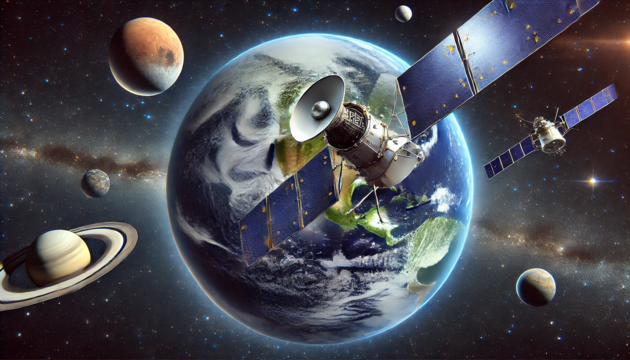
A "space adventure" but with robots. Different robot structures are built in Level A1. The motors are controlled so that the robots perform precise movements around the "Earth", "Moon" and "Sun". We use the force sensor to overcome various obstacles we bump into. We learn interesting facts about the solar system and space vehicles.
- 65
- 30:30
- 76
