

Gapped & Crossed Line Following. Part 9. Crossed Sections
We can Turn Right. We can Turn Left. How do we decide which way to go if there are lines both to the left and to the right. Check out the video.
- #212
- 09 Mar 2016
We can Turn Right. We can Turn Left. How do we decide which way to go if there are lines both to the left and to the right. Check out the video.
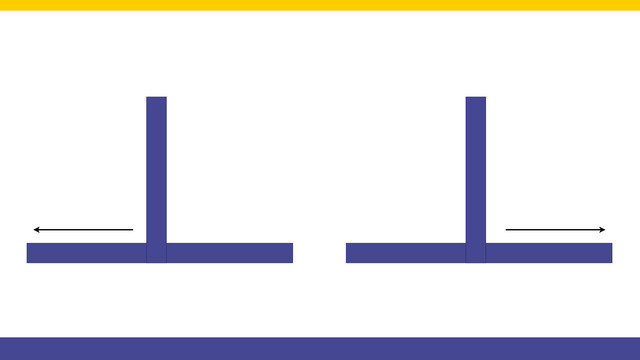
All worked as expected, up until know because the robot got lost. This happens when we turn right and the line does not continue to the right. Now the robot must somehow understand that it is "lost" and escape.

After several questions about the use of the LEGO Mindstorms NXT Light Sensor with the EV3 software, we have decided to go through this problem in this video tutorial and pay special attention to the Raw Sensor Value Block.

Based on a request from Abdulah we decided to build a tutorial on how to use Hi Technic Color Sensor and EV3-G Software. There is a special block imported in the software that helps you use the sensor.

The telephone game played with LEGO Mindstorms EV3 robots relies on the Color Sensors and the detection of colors. Sometimes the robots won't work. They could be influenced by a number of factors like the position of the sensor and the lighting in the room. This tutorial is a demonstration on how to account for and resolve this issue.

We discuss the state of "Lost" and the different ways we could escape this state. We also build the next step of our State machine programming pattern where the next state is determined by the previous state.

In this episode we do a full run of the mission for collecting a single treasure before going into explanation on how we have programmed the robot.

In this tutorial, we would implement a program that finds the minimum and maximum value detected by the sensor and stores this two values in an array.

The final video from the course. The robot escapes the state where it is lost. This happens if it can not continue in any direction.

As an extension to the previous video we talk about the Hi Technic Color Sensor again.

Many times we just upload blocks and leave it up to you to use it. In this tutorial, I would like to show you how to use the implemented blocks. How to import them into the EV3-G software. How to see them in the palette. How to drag and drop them to build a working program.

Let's implement a more advanced program for this robot to learn how to use with motors in opposite directions - and this is to implement the Proportional Line Following algorithm.

Vision is still one of the very few fields where a human being could outsmart a computer. Still. Colour/Light sensors are the cornerstones of implementing a smart LEGO Mindstorms robot that could at least partially do "vision". In this video tutorial, we are using the robotics sensor to detect loading and unloading of the catapult.

The robot works on the field and decodes the different colours that represent the rows and the columns.

"Array initialization" is the first step in every program that involves Arrays. This applies to most programming languages and for EV3-G it is a must.
In this tutorial, we would show you how to initialize the array and how to extract this logic in a new block

We would continue from the previous program where we used variables and we would change this to arrays.

We would look at the rules of the competition over our small model and we would start solving the field.

The Telephone game is played with 2 or more robots and is extremely funny. Each robot has a color wheel that can be rotated through the medium motor and a color sensor. The first robot on the left rotates the color wheel to a random color. The second robot must detect the color on the wheel and rotate its color wheel to this color. The third detects the color wheel of the second and so on.
It is described in details in Lesson 4 of Level C2. Cooperation

In the course section for Advance Sensor Calibration we previously showed you how to find the minimum and maximum value for a single LEGO Mindstorms Color Sensor and to store this value in an array. The program was implemented with the EV3-G software. In this tutorial we are going to find the Min and Max for all the four sensors and to store all the 8 values in an array.

Implement a program for stopping at a black line with the blocks containing the implementation details for the InitArray, Calibration and Getting the calibrated result.

Following the Advance Light/Color sensors calibration for a minimum value for a single sensor tutorial, in this one, we continue with finding the maximum value detected by a sensor and storing this value in an array.

As an exercise try to implement the calibration of the minimum and maximum values for a single sensor.

Implement the program for array initialization.
Follow the video tutorials for initializing arrays and implement the program.


