
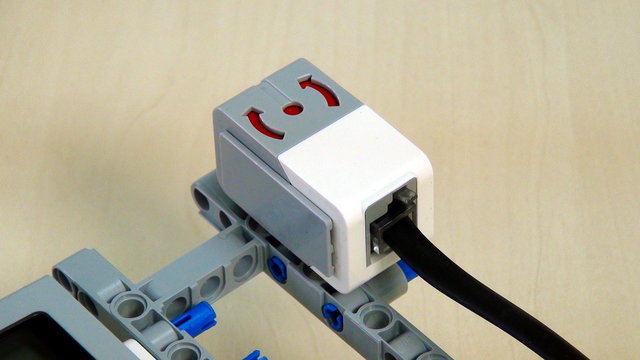
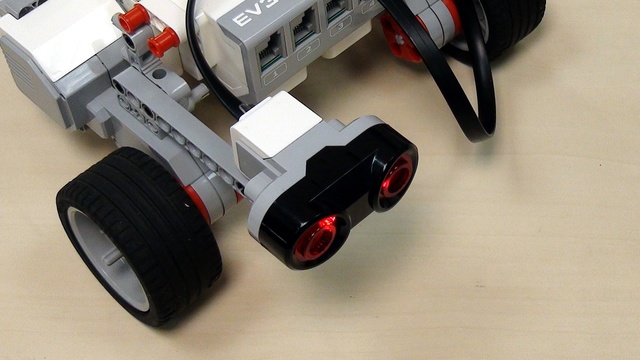
Task for fixing the EasyBot robot construction
Do it yourself, fix the errors in the construction of the EasyBot
- #348
- 29 Jan 2017
Do it yourself, fix the errors in the construction of the EasyBot

Introducing three main concepts - Energy, Inertia Moment and Angular Velocity. We describe what is the moment of Inertia, how do we calculate it and how do we measure it?

The Gyro sensor in LEGO Mindstorms EV3 sets is new for the sets and we answer basic questions about its usage. The sensor detect when the whole constructions turns at a particular angle, but there are a number of gotchas in using it.

In this course, you will work with other students in the group. These might be your classmates, teammates, or students you know from other activities. It is important to know your group so that you can work together with them in the best possible way.


"The devil is in the details". We are improving the Rubber band attachment with a Flywheel by introducing a few small, but important modifications that make the whole robot attachment more stable and reliable. With the conclusion of the series this attachment could be used as a basis for some very interesting STEM demonstrations on energy accumulation and conservation.

The attachment builds on previous episodes this time using two LEGO rubber bands. When a lever is released the rubber band exerts pressure on it and moves it in a circular motion. As an example we are solving the 2012 FIRST LEGO League, Senior Solutions, stove mission (which was quite interesting as a mission)

The LEGO EV3 Mindstorms brick can be programmed from the brick itself. The motors can be moved forward/backward and even simple programs could be implemented without even touching the EV3-G software at the computer
Many teams are having troubles with the EV3 Gyro Sensor and its drift. In this video we are showing one way to fix this behaviour and get an accurate measurement from the sensor.

Experiment with moving the robot in different geometrical figures. The tasks could be used in STEM classes for introducing students to geometry and math.

This tutorial is about how to follow a wall with an ultrasonic sensor. The example is with a border from a FIRST LEGO League (FLL) competition, but could also easily be applied to other competitions and problems.

There is no block for programming the Ultrasonic Sensor in the retail version of the LEGO Mindstorms EV3 software. In this video tutorial we will show you how you can download & import such blocks in order to use the sensor.

The energy accumulated in the construction is about 2-3 Joules. In this first video we ask the question "How can we keep the energy in the system". How many Joules of energy should we input from the motor in order to keep the energy in the system.

Display a matrix on the brick screen. Simple and easy. Download and run the program to see how

This video lesson is a revised version of Episode #1. Matt Gipson requested it in a comment. Using the EV3-G software we have developed a very simple program for following a line with two LEGO MINDSTORMS color/light sensors.

We have previously aligned to lines with the Color Sensors. In this series we are doing the same program, but with Ultrasonic Sensors that are aligning the robot to a Wall.
We are introducing the LEGO Mindstorms EV3 Ultrasonic Sensor. The first program is actually to detect an object and stop near it, at about 4 inches/10 centimeters. The ultrasonic sensor could be used during robotics competitions, but most of its use is for experiments.

The second construction of the series along with a comparison with the first construction. The new robot requires more parts, but has a few more advantages.

The EV3 Gyro sensor is quite powerful, but there are some little tricks when using it. In the previous episode we showed a hardware solution to the problem and now we are exploring how could the sensor be calibrated from the EV3-G software. Thanks to Sharon and Faye (full names omitted) for the request for this video.

In the first LEGO tutorial we started following a wall with the Ultrasonic Sensor. In this tutorial we would improve the program, remove the zig zag movement and make it very smooth.

Motors can be placed in opposite directions... opposite .. directions. Robo-builders might have difficulties imagining it so we have build one. One of the motors facing forward, the other backward. It is interesting how this robot turns.

There are a number of tools available online to help you play the game. You just seed the initial conditions and leave the game. Let's look at some of the sites.