

Improving FLL Robot Game. Teacher Note. Introduction to task for Lifting
How should an instructor use this course when working with students and a group of students in school
- #436
- 06 Mar 2017
How should an instructor use this course when working with students and a group of students in school

Where should you lift the robot? Especially if you don`t have the mission model that we are using

Build a robot base to use in the course. You can use the robot base provided by us or you can build one yourself.

Note for the teacher on how to organize the class to use different robot base constructions to accomplish the mission for lifting.

Do it yourself, fix the errors in the construction of the EasyBot

Build a similar mechanism to this one. Similar, but for your robot. This is the task for you. Try, give yourself half and hour or even an hour.
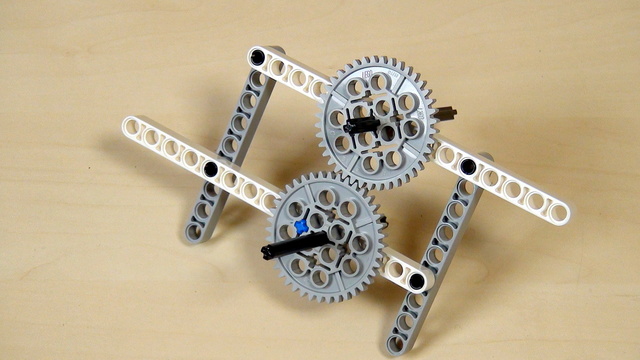
One of the very common problems with the LEGO Mindstorms and LEGO Technic Gear wheels is then a tooth is skipped. In this video, I would like us to discuss this challenge and how do we solve it.

We will cover the names and the basic usage of the parts in our typical robot.

We will demonstrate the common mistakes students make when building a robot.

Now that you have tried and solved a challenge involving a series of instructions, we would like to share a few best practices.

How to organize the different robots and group of students when working on lifting the robot.

There are a few things that you should be careful about when building from instructions .

Unplug one of the cables and observe what the robot does.

Overview of what is going to happen in module 3

Now we have to program the robot. The steps that we will cover are starting the software, writing a program and downloading it to the robot.

Connect the attachment to the box robot and find the correct number of rotations of the middle motor that would bring the robot up and forward and would attach it to the mission model.

We will cover three ways to transfer your program from the computer to the robot.

The challenge is to make the robot move back and forth with ever decreasing distance.

When organizing this course, the behavior expectations should be set at the very beginning of the course.

Remember the passive/active attachment separation that we are making at FLLCasts.com. This applies for all the attachments and in this Episode, we are looking at how to use a passive attachment.

What a teacher must look out for, while students are building a robot from instructions.

We will demonstrate how to connect the brick and the motors by using cables correctly and reliably.

Now we will create the first program in this course and we will make the robot move forward.

When we, the teachers, make programs and projects, we give them descriptive names. Let's show you a way to put cool names on your programs.

Using the rack depends on the experience of the team. Based on this a different number of gear wheels and racks would be used.

Let's review the LEGO Mindstorms EV3 Intelligent Brick
The EV3 brick is the main computer of your LEGO robot and it has a display, a few buttons and various ports.

Before moving forward here is the simple task of building the mechanism and extending the legs. Extend the legs to fifteen LEGO units.