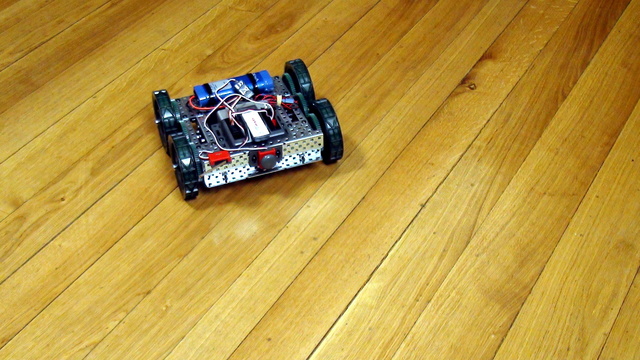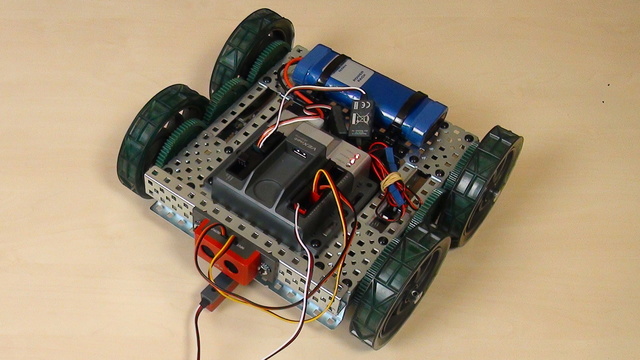

VEX EDR Intro. Move forward and backward with the VEX motors
In this episode we combine in a single program the previous two programs for moving forward and backward.
- #330
- 04 Mar 2017


In this episode we combine in a single program the previous two programs for moving forward and backward.

In this tutorial, I will cover the adjustments of the display and the color lamp blocks from the LEGO Mindstorms NXT-G. Today I will show you how to use the color lamp in order to make your robot more interesting or how to display sensors values or try to draw something on the screen of the brick.


This animation demonstrates the use of a Grab Attachment build from LEGO Mindstorms Robot Inventor 51515 set. Many of the FIRST LEGO League missions could be accomplished by grabbing the mission model and the principles shown here is useful for mission models that look like a loop


We are about to connect the whole car with the lights and motors to the controller. Let's recap to know what is ahead of us, what would the process be and what is the end result of the next couple of sections when at the end we have a car controlled by the phone


The scorpion is one of the most famous robots build with the NXT kit. In this lesson we are showing how to use the rotation sensor to program the scorpion and its strikes. The main challenge is how to return the spike for the same amount of degrees after it strikes. The other topic is how to use variable to keep the state of the scorpion. Both of this techniques are very valuable during the competition.


In the course, we are going to use the following components and hardware elements. It is important to know their names and what are they used for.


We are ready to build the first program for moving the robot forward and backward. We learn how to build simple programs for moving the program. But it is not that easy...downloading to the robot does not always result in the robot moving.


In this 10 out of 10 tutorials we do 10 runs that demonstrated how consistent and reliable it is to stop at the second intersection. This is useful as it is one of the main ways to figure out how to position yourself on the field.


In this video tutorial we follow a line 10 consecutive times. In this way we demonstrate whats the consistency that you could expect from the robot when following a line with a multi-states algorithm.


Why we change the robots all the time and what to observe in each new robot.


To prepare the robot to move in a square and to use a loop in the program we would first make this VEX EDR robot move forward and turn, using a program developed with RobotC.


To control the VEX Cortex controller we must use a software. In this episode we would download the software from the VEX site. Strange thing is that you must select your region correctly even if you are not in this region


In this video tutorial, we demonstrate a reusable attachment. It is the same attachment we've previously used for two other missions. Sometimes we can build such attachments - one attachment that can complete several missions. Yes, the mission is similar - it is Load Cargo, but we are loading the cargo in different places on the field, and that's important.


When aligning backward the robot is still very consistent. It does not matter the direction in which we align. What you will learn from this tutorial is what is the consistency and reliability of the robot that you could expect.


We would start connecting a lot of things to the Raspberry Pi. It will be good if we could have some way of referring to the pins on the Raspberry Pi. For example like Pin 5 or Pin 26. Luckily there is such a way.


How to keep the discipline in the classroom and how to cheer up the students.


Spinning with the VEX EDR robot involves the use of both motors. The left and the right. Every robot with wheels could spin and this makes not exceptions.


This is an animation of a quick pinless attachment that is placed below the robot and is used to deliver parts, like the Container Mission model, to different parts of the field. In the live video in the lesson we explain more about the principles, while here in the animation you can get a quick overview of how it works and you can try to follow the same principles for an exercise.


Without the use of the sensors, make sure that you are at least using "set movement acceleration to slow". In this tutorial we will demonstrate why and how this helps us improve the accuracy and consistency of the robot.


Where is the math while turning? Is there any math involved? Should there be?


The next important step when turning with a robot is to learn how to do an Arc turn.


In this video tutorial we demonstrate the user of a quick 'pinless' attachment. As all pinless attachment it is not that they are completely pinless, but that they do not require the "click" of the pins that is often difficult to achieve in a quick pace environment as during FIRST LEGO League competition rounds.


In this video tutorial we demonstrate a few ways to use the Distance sensor from the LEGO Mindstorms Robot Inventor on FIRST LEGO League competitions. We don't enter into the details about programming as we do in the LEGO Mindstorms Robot Inventor Programming course, because here we demonstrate the behavior of the robot when the sensor is use and we make the argument that you should always use sensors at FIRST LEGO League competitions


In this LEGO robotics video tutorial we will accomplish mission 8 from the FIRST LEGO League 2020 RePlay competition. The name of the mission is Boccia. What you will learn from the video is how to accomplish complex missions that require following a line, aligning to the line and accomplishing many mission models in a single run


We need to extend the cables to be able to connect them to our Raspberry PI. We must also add new connectors at the end of the cables.


In this tutorial we demonstrate how accurate the robot is when we are moving it slow vs when moving it fast. The point of the tutorial is to show that moving slowly is generally much more accurate. It is not accurate enough for a FIRST LEGO League competition, but if you have to move without the use of the sensors you can at least move slow.


In this video tutorial we demonstrate a robot attachment that could be used to lift loops and other objects. Almost every year there is a mission at FIRST LEGO League competitions that involve lifting and the principle is interesting. You can build the attachment, robot and mission model from a single LEGO MINDSTORMS Robot Inventor 51515 set and learn a principle of building an attachment for lifting.