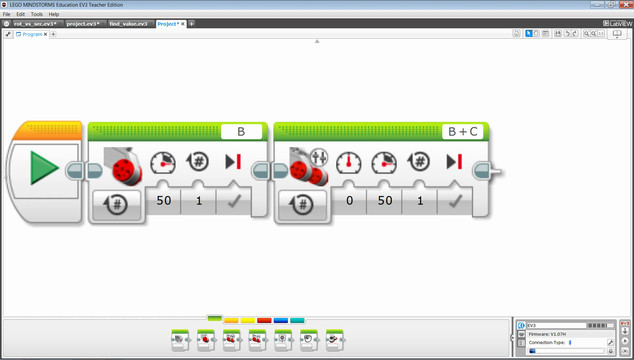
Improving FLL Robot Game. Teacher Notes. Liftting the robot with a Rack
Using the rack depends on the experience of the team. Based on this a different number of gear wheels and racks would be used.
- #450
- 05 May 2017
Using the rack depends on the experience of the team. Based on this a different number of gear wheels and racks would be used.
Here is our solution for preventing torsion and bending of the LEGO Mindstorms EV3 axles.
Let's review the LEGO Mindstorms EV3 Intelligent Brick
The EV3 brick is the main computer of your LEGO robot and it has a display, a few buttons and various ports.
How to align the wheels and how much should you push for this solution?
Overview of what is going to happen that part of the lessons.
We will introduce a convention, an agreement, how and in which cases we are going to use each types of blocks.
What is the end result? - have the attached on the mission model. What is the mechanism the would make the robot hang on the mission model.
Let's learn how to use the Sound block.
There were a few problems with the 40 teeth gears that we were using. Let's list some of them
We will demonstrate an alternative way to make the robot move backward
Building a rack is a very important skill during competitions. You should try to build one, learn how to use it and have it as a tool for you next robots. But for this particular BoxRobot, we will not continue with a rack.
The most stressed wheel in our system is the driven wheel. We've already fixed the problem with the driving wheel of the scissor mechanism and now it is time to look at the drive LEGO Mindstorms wheel.
Think of an attachment that leaves the Gecko on the mission model. Don't use the robot attachment that we already have. Just the box robot and the gecko. Nothing should support the Gecko when it is hanged on the mission model.
There is the Move Tank programming block in the software. It allows us to set different power to each motor.
In real life, the same concept is used in cars, for example. The traction control systems apply different power to different wheels, so that the car is more stable on the road during turns or on slippery road.
In this tutorial, we add another mission to our current program. This mission is - hanging the Gecko from the FIRST LEGO League Animal Allies.
We will cover the typical reasons why your robot is not moving at all.
Do your best as a teacher to make sure students are expanding their vocabulary on every occasion.
Use any blocks that you wish to solve the following task.
Tips and common mistakes when connecting two beams together.
Here is the task for adding a beam on both sides of every gear wheel in your attachment.
Experiment with changing the orientation and direction of gear wheels. Here are part of the tasks that you should complete before moving forward with the course.
Once you start turning how to do you a whole 180 degrees turn. The robot almost does it, but not completely
What a teacher should know when giving tasks to students
So far we know how to make a turn in an arc, just like the real cars do.
Today we will see what other options our robots have for turning.
Construct two legs for both sides of the robot. The task for this video is to attach this two legs on both sides and to build a system of gears and axles that power those legs.
The most universal way to start your programs is from My Projects menu and we will cover details about that menu in the EV3 Brick.